Installation
Note: Manual installation procedure works currently on WINDOWS operating system only.
Prerequisite
| # | Name | description | link |
|---|---|---|---|
| 1 | USB Drivers | ch34x and cp210x drivers | download |
| 2 | Firmware | latest xtimer firmware in release | download |
We highly suggest to install both of these drivers if you haven't installed them yet
XTimer Web
A browser based all in one firmware flashing, wifi configuration and debugging console.

Requirements
Install necessary drivers before proceding to the webflasher link please use Chrome browser to avoid any problems. Click to start.
Step 1.
Click Flash
Step 2.
Select latest Firmware from dropdown list.
Step 3.
Select COMx port and wait until successful connection, you will get option to open the console or install the firmware
Step 4.
Click install and wait until flashing finished
Step 5.
Click next when finished you may set XTimer wifi from here.
XTimer Manual
Simple .bat file flashing includes erase flash and flashing .bat.
Step 1.
Install necessary drivers by downloading and installing from the link provided above, for drivers click the <> Code drop down and download as zip. Choose _x64.exe if your in 64bit or the x86 if 32bit for both the cp210x and ch340. Plug your device to the computer and open device manager you'll see the cp21 or ch3x port number (COMX) ie. COM4 etc, list it down for later use. For firmware download this and proceed to the next step.
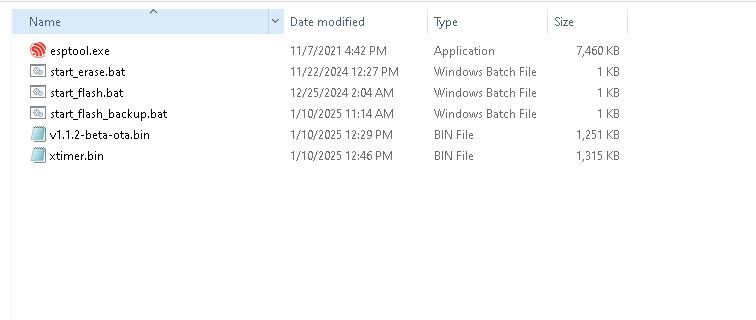
Step 2.
Once firmware.zip is downloaded and extracted find and double click start_flash.bat, type in the COMX of your device you have listed. Make sure it goes all up to 100 percent for successfull flashing.
Step 3.
Blue light will light up once ready the device will now emit wifi access point ssid in the format of hvfl-xxxxxxxx you may connect and visit 192.168.4.1 or xtimer01.local if automatic popup fails.
Step 4.
Click on next and follow through the process. On the last step it will ask if you will include your license key or try for 7 days trial click the button you prefer and will automatically restart.